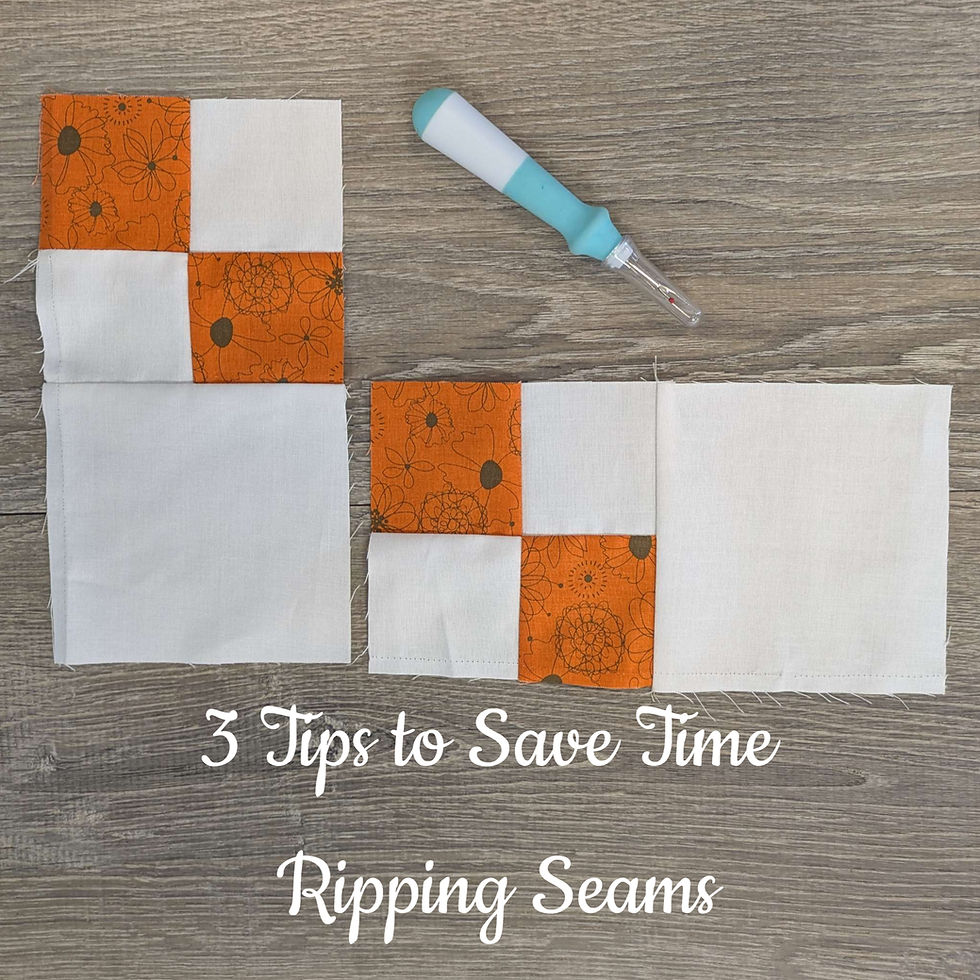
We've all had that moment when we've stitched a seam or bit of quilting and then realize it doesn't look quite right. Well never fear, if you decide the stitches must be ripped, then try these tips to make the experience as quick and easy as possible. Here are three practical tips to help you master the art of seam ripping and get back to your project in no time!

Set Yourself Up for Success

Starting with the right tools can make a huge difference in how smoothly your un-stitching session goes. A seam ripper is essential, but a few additions make it even better.
You should consider using a:
Bright light: This could be your mobile phone, sewing machine, or lamp.
Magnifying lens: Currently I just use reading glasses from the store but there are also great magnifying lenses on a stand that are great for seam ripping, stitching binding, cross-stitching, even reading a book.
Good seam ripper: Opt for a seam ripper with an ergonomic handle to reduce hand strain. According to a survey, using ergonomic tools can decrease hand fatigue by up to 30%, making your seam-ripping experience much more comfortable.
Use your seam ripper to its full potential by utilizing the pointed tip for getting under the stitches. And then use the outer edge which is dull for pulling out the thread or using the inner edge for actually cutting the thread.

Having the right tools not only speeds up your work but also protects your fabric from unwanted damage.
Make multiple breaks in the stich line
I always start removing a seam by cutting through a stitch every inch or so. This break allows you to pull out a few stitches from each side and then simply pull out the center. This speeds up your seam removal by quite alot!
Remember, patience is key. You don't want to damage your fabric by rushing. If you get stuck on a too small stitch, tight stitch, or a little knot, don't be afraid to use that cutting edge of your ripper on the thread. Once you get going, you'll see it's pretty quick.
Open the Seam
Sometimes it can be too tricky to get to the stitches on the wrong side of the fabric, so open it up. Apply a little tension to the opposing fabrics and you will see the thread in between. Then insert your tip and pull out the thread with the dull side. If you need to cut a difficult thread, then just rotate the seam ripper. I don't recommend just ripping through the seam with the cutting edge because it can disfigure the fabric and makes a mess of thread bits, but it can be done also.

In the End
Seam ripping doesn't have to be a stressful task. It will be necessary from time to time, but you can be more quick and efficient by using the right tools, putting breaks in your seam line, and changing your view by opening the seam.
Remembering this advice will help also!

Whether you're a seasoned quilter or a novice, these tips will help you confidently tackle those sewing mistakes. Befriend your seam ripper and keep your sewing projects moving forward!
Happy quilting & Be Blessed!
Tara


Commenti