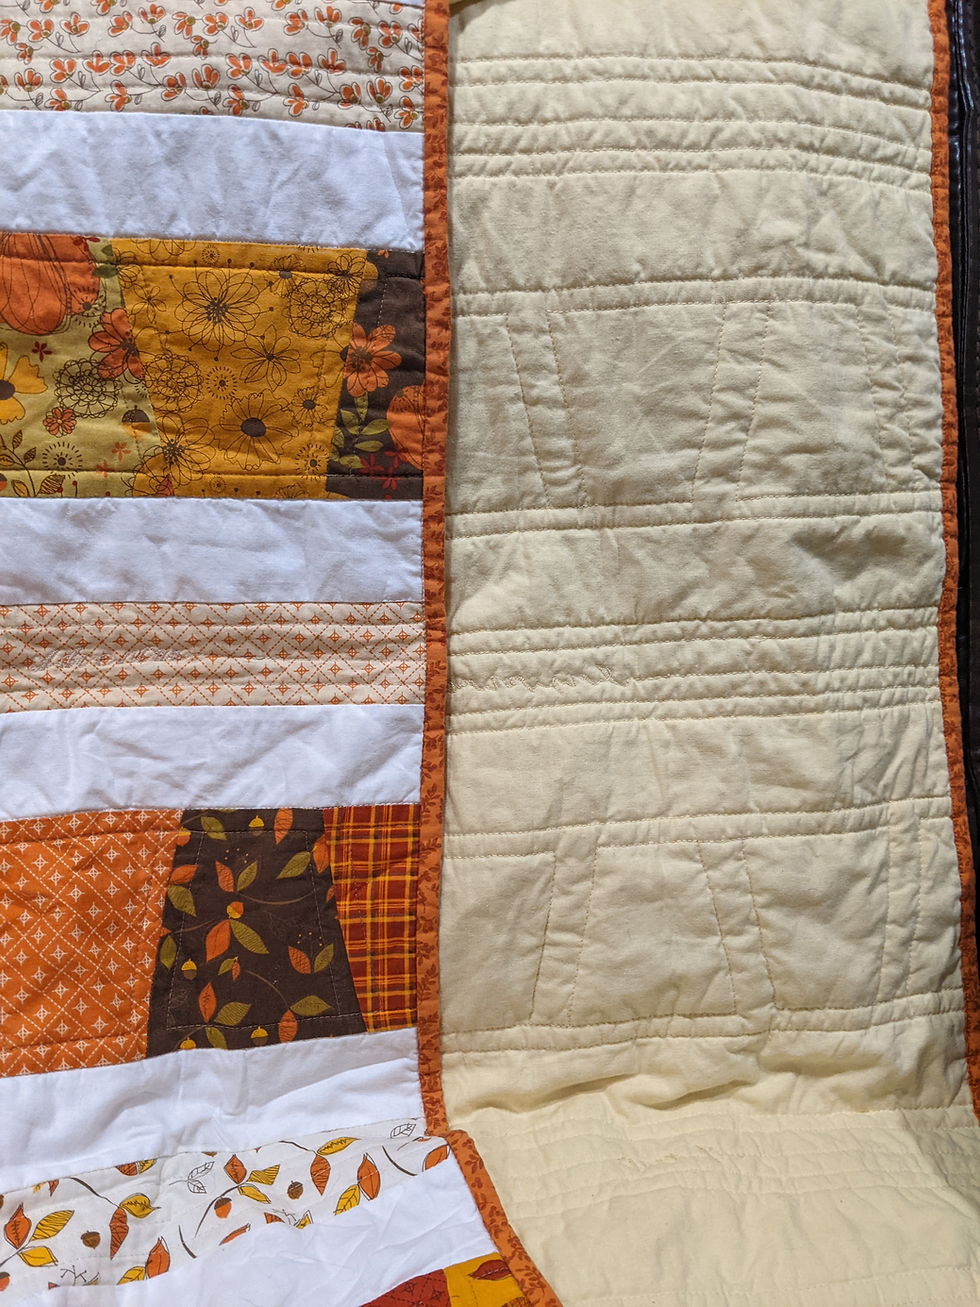
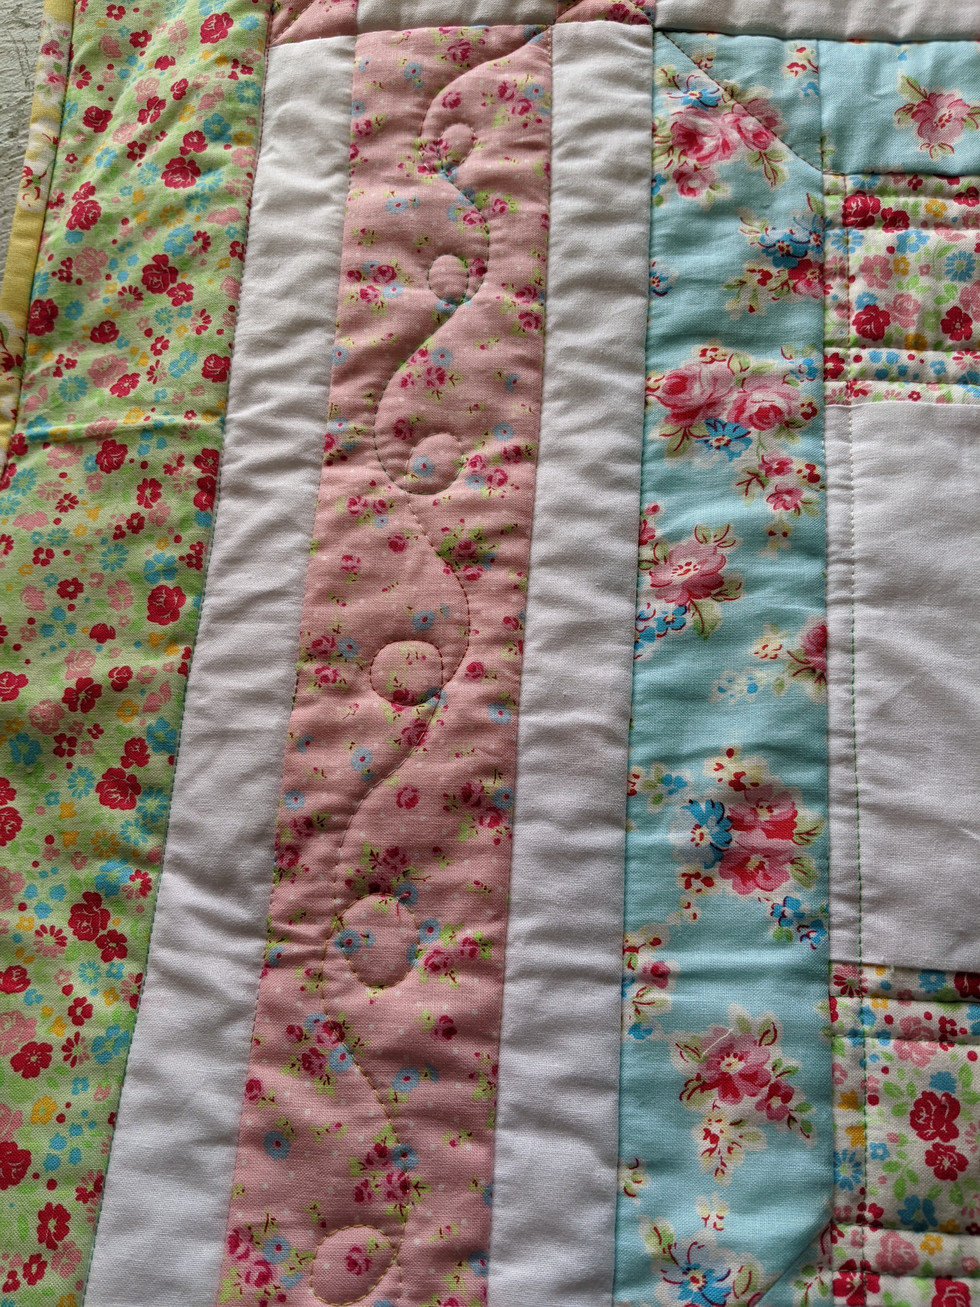
Are you ready to get quilting? Today we are learning more about outlining blocks and patches with STITCH-in-the-DITCH and ECHO STITCHING.

The 4-1-1 on Stitching-in-the-Ditch and Echo Quilting
Stitching-in-the Ditch means stitching along the seam lines of your piecing, blocks, or borders. It is probably THE most often used quilting design. Stitching-in-the-Ditch is a favorite for several reasons:
it is usually invisible on your top
it uses your walking foot (or even your regular open-toe foot)
it is mostly straight lines
it is quick and easy
it looks good on any block
Echo stitching is very similar except your stiches are around the edge of the shape, seam, or block at least 1/8" away (or more) and it is NOT invisible on your top. (Notice the echo lines in the top photo.)

Now there is a very important reason I am talking to you about these two options at the same time, and that is because in the Nothing but Love Quilt Along most of the blocks have some seams pressed OPEN. When you have open seams - please DO NOT STITCH-in-the-DITCH! This is because if you truly stitch on the seam line then you are actually just stitching over your thread NOT fabric, so it will not help anchor your fabrics over the years. Remember quilting helps keep your fabrics in place and support their weight through years of using and washing, and fabrics and thread will rip if the fabric weight is not actually supported.
Why use Stitch-in-the-Ditch and Echo Quilting?
Ok, now the public service announcement is done, let's get to the quilting fun! Stitching-in-the-ditch is a great way to keep your blocks and piecing anchored and straight. I personally use it on almost every quilt project at least going around every border. I actually do this first to assist my basting in keeping all the layers tight and right so that when I free-motion quilt there will be less fabric movement. With that idea in mind, you can combine stitch-in-the-ditch (SID) and echo quilting with other design motifs to make your quilting more interesting. **We will also re-visit echo quilting in free-motion quilting lessons.
There are not a lot of hard decisions to make when using these quilting motifs - really you just decide what shapes you want to stitch around - like each heart, each block shape, or the piecing grid (9-patch for example) and then find a starting point and start stitching.
(Stitching-in-the-ditch: Invisible on the top and looks nice on the back)
Find the Ditch and Start to Stitch
As long as your seam goes to one side (the dark side normally) then you should be able to see (and feel) a little bump where there are multiple layers of fabric - the seam allowance - you want to stich on the other side - the "low" side.
Always start your stitching with the needle in the down position and usually off the edge of the quilt. If you are starting in the middle of your block (or quilt) then anchor your stitch with a knot or reverse stitches.
In the photo below, you can see my walking foot (and my laser line) shows that I am stitching on the white fabric which is the low side. when I get to the intersection ahead, I will carefully switch sides to continue stitching on the white fabric - in the ditch of the seam.

There is a nice "in the ditch" line of stitches, but there are plenty of times when I wobble a bit. It's ok and no one will really notice. Use thread that matches your fabric colors closely - I used a pale green here, so it wouldn't show any wobbles too badly.
To help stay straight, go SLOW. Your foot pedal is not the accelerator in your car, and this is not a race.

As I said before there is no right or wrong amount of SID, you can either go from one side of the block (quilt) to the other or around shapes that you pieced. You really don't need to cut threads and anchor them unless you run out of bobbin thread in the middle. If that happens, just start again in the same place.
Onward to Echoing...
To do echo quilting, start with a plan and an increment. What shapes do want to echo? How far away from the shape edge do you want to be? Are you going to repeat the echo line multiple times?
Step One: Now with echo quilting, you may be starting inside or outside the shape, but within your block, so you will definitely need to anchor your stitches (knot or reverse stitch). I suggest starting in the middle of a straight run vs the corner or point of your shape. You want to make sure your lines meet up at the end to enclose your shape, and it's nice to have a little space to make that happen gradually just in case you get off your increment a bit.
You can draw your stich lines with a ruler and frixion pen, chalk marker, or other marker of your choice, use your walking foot or measuring bar that attaches to your walking foot, or live on the wild side and eyeball it. It's up to you how precise you want to be in your quilting design.
In this close-up you can see my walking foot has 1/8" increments on it (Yes, I am spoiled by BabyLock and that's why I love it.) So quite often I use these lines to do my echo quilting typically 1/4" to 3/8" apart or the edge of my foot at roughly 1/2" distance. As you can see below, I just keep that 3rd red mark lined up with my previous stitch line (or shape edge) and stitch. The trick is to make sure you stop and pivot at a similar increment, so you may want to mark the corners/pivot points.

The precise increment doesn't really matter just that you do it consistently although it is a fun design element to do one echo line 1/4" away and then the next echo line (of the same shape) 1/2" away.
Step Two: Stitch around your entire shape.
Step Three: When you complete your shape outline make sure you anchor your stitches with a final knot or reverse stitch before moving on to the next shape.

Yay - now quilt all your shapes in your block that you want! You can see that I chose to double echo the green squares and also outline the hearts and white square shapes in this Refuge block. I had to use a very small (1/8") increment to get it all to fit! But I like how it makes the shapes POP a little bit.
So go have fun quilting your blocks and quilts with confidence that your quilts will last a long time and will look great!
If you have any comments or questions, please let me know on this page. And don't forget to share your progress and efforts by tagging me on Instagram or Facebook with @polkadotpeepquiltsetc #nothingbutloveQAL or #quiltingoutlines
Next week, is Block #3 - Joyful in the Nothing but Love QAL. I hope to see you there!
Until next time, be blessed my friends,
Tara


As a new quilter, I just wanted to let you know how much I appreciate your helpful and thorough instructions and tips. I really hadn't given much thought to the "how" of quilting until I fell "in Love" with your Nothing but Love design...I guess it was just a match made in heaven! Thanks for keeping it lively and fun...it's helping me power through my fear!